If you live with hip pain and stiffness that make it difficult to perform everyday movements, hip bursitis could be the underlying cause. Below, we’ve taken a closer look at this relatively common condition and provided easy-to-follow instructions for some of the best exercises to relieve its symptoms.
Ready to learn more? To receive an accurate diagnosis and personalized treatment plan for your hip pain, schedule a consultation with our award-winning team of orthopedic specialists today!
What Is Hip Bursitis?
Bursae (singular bursa) are small, fluid-filled sacs located near joints throughout the body. Their primary function is to keep joints moving smoothly by reducing friction between bones, tendons, and muscles.
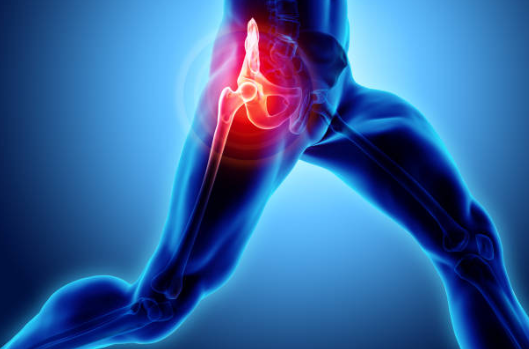
Hip bursitis occurs when one or more of the bursae located near the hip joint becomes irritated or inflamed. Common symptoms of the condition include hip pain, stiffness, and swelling. Hip bursitis may also make it difficult to perform everyday movements like walking, standing, sitting, and sleeping.
To better understand hip bursitis – and why certain exercises can be instrumental in improving it – let’s quickly review the anatomy of the hip joint:
Hip Joints 101
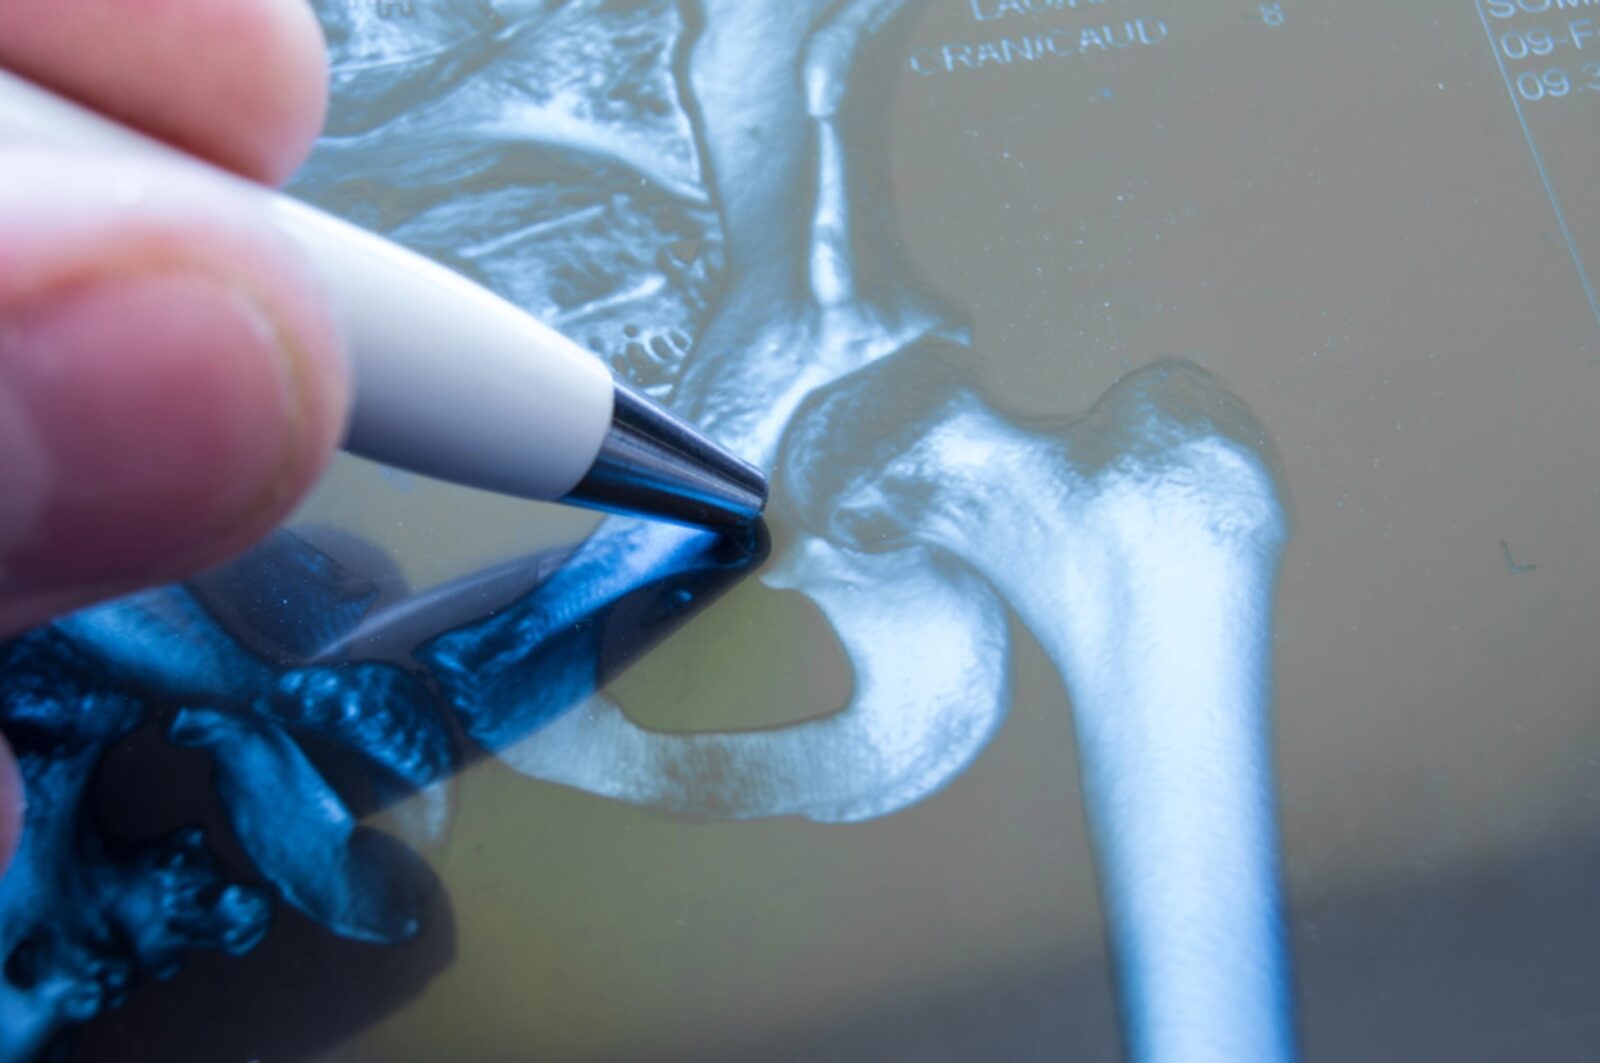
The hip is a ball-and-socket joint that brings together the top of the thigh bone (the femoral head) with the acetabulum (a cup-shaped cavity in the pelvis), allowing for a wide range of motion. A ring of cartilage known as the labrum provides stability to the joint, as do ligaments like the iliofemoral ligament and pubofemoral ligament, which help to prevent excessive movement.
Two main bursae reduce friction between bones and muscles in the hip joint: The greater trochanteric bursa, which is located on the outer side of the hip, and the iliopsoas bursa, which is located on the inner side. Greater trochanteric bursitis – which is commonly seen in athletes and females between the ages of 40 and 60 – occurs when the trochanteric bursa becomes inflamed. Causes of the condition can include poor alignment of the hip joint, repetitive movements, trauma, poor posture, and arthritis.
Before You Start: Safety, Starting Position, And When To See A Physical Therapist
Targeted hip exercises can help to significantly reduce pain and other symptoms associated with greater trochanteric bursitis, but making sure that you’re setting yourself up for a safe and successful outcome is key. Before starting a hip exercise routine, it’s important to consider the following:
Safety Precautions
- Consult With Your Healthcare Provider – It’s vital to get clearance from your orthopedic specialist or primary healthcare provider before beginning a new exercise routine – particularly if you have other underlying medical conditions.
- Listen to Your Body – Start slowly, avoid overdoing it, and stop if you feel pain or discomfort that seems out of the ordinary.
Proper Alignment & Technique
Before beginning, take the time to align your body, paying special attention to the levelness of your hips. Warm up properly (see below) and perform each exercise slowly and using controlled movements to ensure you’re targeting the right muscles.
Warm-Up For Stiff Hips & Knees To Reduce Joint Pain
A gentle warm-up before hip bursitis exercises can help reduce stiffness and improve mobility by increasing blood flow to the affected hip joint. At Modern Orthopaedics of New Jersey, we recommend spending about 5 minutes warming up with exercises such as:
- Gentle marching in place
- Hip circles in both directions (feet shoulder width apart)
- Leg swings forward and back on both sides (hold onto a wall or stable surface for balance)
- Ankle circles – to improve blood circulation throughout the legs (can be performed sitting on the floor or standing on one leg while holding onto a stable surface)
When To See A Physical Therapist
Seeing an orthopedic specialist or physical therapist is always a good idea if hip pain is affecting your quality of life. It’s especially important in cases where symptoms are severe, ongoing, and/or impacting your ability to perform daily tasks.
The Best Hip Bursitis Exercises (Step-By-Step)
The exercises below can help alleviate hip bursitis pain, but not all of them are right for every patient. At Modern Orthopaedics of New Jersey, we strongly recommend consulting with a trusted healthcare professional who can help you develop an exercise program tailored to your specific needs and goals.
Prone Hip Extension
Prone hip extension exercises strengthen the lower back, glutes, and hamstrings:
- Lie face down on a flat surface with core engaged and arms by your sides or under your forehead.
- Slowly lift one leg, keeping the knee straight, and hold for 1 to 2 seconds. Only go as high as you can without arching the back or hyperextending the hip. Lower the leg back to the starting position.
- Perform 2 to 3 sets of 10 to 15 repetitions on each leg (or as recommended by your doctor).
Side-Lying Hip Abduction
Side-lying hip abduction exercises strengthen the gluteus medius, which is vital for hip stability:
- Lie on your unaffected side with your painful hip up and your head resting on your bottom arm. Your legs should be stacked one on top of another in straight alignment with the rest of the body. Engage the core and place your top arm on the floor for support, if needed.
- Slowly lift the top leg, keeping the knee straight, until you reach a 30-45 degree angle. Hold for 1 to 2 seconds, keeping the pelvis stable, and then slowly return the leg to the starting position.
- Perform 2 to 3 sets of 10 to 15 repetitions (or as recommended by your doctor).
Clamshell
The clamshell exercise targets hip stabilizers like the gluteus medius and gluteus minimus:
- Lie on your unaffected side with your painful hip up and your head resting on your bottom arm. Your legs should be stacked one on top of another and bent at 90 degrees. Engage your core and place your top arm on the floor for support, if needed.
- Keeping the feet together, slowly lift the top leg as far as comfortable (typically 30-45 degrees). Hold for 1 to 2 seconds at the top, squeezing the glute muscles, and then slowly return the leg to the starting position.
- Perform 2 to 3 sets of 10 to 15 repetitions (or as recommended by your doctor).
Bridge
The glute bridge exercise strengthens the glutes, hamstrings, and core:
- Lie on your back with knees bent and feet flat on the floor, hip-width apart. Engage the core.
- Squeeze the glutes and lift the hips upward until the body forms a straight line from shoulders to knees. Hold for 2 to 3 seconds and slowly lower the hips to return to the starting position.
- Perform 2 to 3 sets of 10 to 15 repetitions (or as recommended by your doctor).
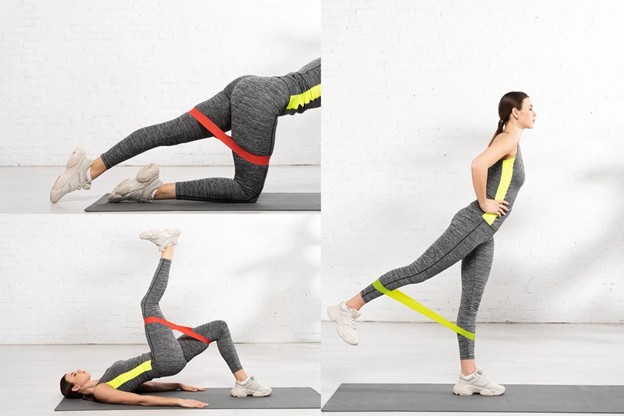
Standing Hip Extension With Band
Standing hip extensions with a stability band target the glutes and hamstrings:
- Place a resistance band around the ankles or just above the knees and stand near a wall or stable surface for support. Engage the core.
- Slowly extend one leg backwards, keeping the knee straight and foot flexed, without arching the back. Hold for 1 to 2 seconds, squeezing the glutes, and slowly return to the starting position.
- Perform 2 to 3 sets of 10 to 15 repetitions on each leg (or as recommended by your doctor).
IT Band Stretch
The iliotibial (IT) band stretch helps relieve tension along the outer hip:
- Stand upright with your affected leg crossed behind your unaffected leg.
- Keeping your back straight, lean your hip and upper body away from the affected side until you feel a mild stretch. Hold for 20 to 30 seconds.
- Repeat 2 to 3 times per side (or as recommended by your doctor).
Figure-4 Stretch
The figure-4 stretch helps relieve tension in the piriformis, glutes, and other muscles surrounding the hip joints:
- Sit on a chair with the foot of your unaffected leg flat on the floor and the ankle of your affected leg resting on the knee of your unaffected leg.
- Gently lean forward, keeping your back straight, until you feel a mild stretch. Hold for 20 to 30 seconds.
- Repeat 2 to 3 times per side (or as recommended by your doctor).
Hamstring Stretch
The seated hamstring stretch helps reduce tension in the pelvis and hip muscles:
- Sit on the floor with one leg extended in front of you and the other bent, with the foot resting against the inner thigh of the straight leg.
- Gently lean forward, keeping your back straight, until you feel a mild stretch. Hold for 20 to 30 seconds.
- Repeat 2 to 3 times per side (or as recommended by your doctor).
Hip Flexor Stretch
The standing hip flexor stretch helps reduce stress on the hip joint:
- Stand with your feet together. Step one leg back with the toes of both feet pointing forward and the front leg bent at 90 degrees.
- Gently push the hips and pelvis forward until you feel a mild stretch. Hold for 20 to 30 seconds.
- Repeat 2 to 3 times per side (or as recommended by your doctor).
Step-Ups
Step-up exercises strengthen the glutes, quadriceps, and hamstrings:
- Stand facing a 4 to 6 inch step or platform with feet together (you can increase the height over time, if desired). Engage the core.
- Step up onto the step with one leg, bringing the other leg to meet it and squeezing your glutes at the top. Step gently down with the opposite leg first and return to your starting position.
- Perform 2 to 3 sets of 10 to 15 repetitions (or as recommended by your doctor).
Sets, Reps, And Progressions For Pain Relief And Strength
Your doctor or physical therapist is the person best qualified to recommend how many sets and reps of hip bursitis exercises you should do and how your exercise routine should progress over time.
How To Progress From Pain Relief To Functional Exercise
Your doctor or physical therapist will likely help you gain greater function in your hip joints by starting off with exercises focused on pain relief and then progressively moving toward:
- Gentle mobility exercises
- Exercises that activate and strengthen specific muscles
- Weight-bearing exercises
- Functional exercises that promote a return to full activity
When To Add Resistance, Balance, And One-Leg Stability Work
Your doctor or physical therapist will gauge when to add more advanced elements like resistance, balance, and one-leg stability work into your hip bursitis exercise routine based on factors including:
- Your pain level
- Your form and technique
- Your strength and balance
What Exercises To Avoid With Hip Bursitis
The exercises outlined above can all help improve the symptoms associated with hip bursitis (as recommended by a trusted healthcare provider). However, it’s important to be aware that certain exercises can also do the opposite. If you live with hip bursitis, it’s best to avoid exercises that compress the trochanteric bursa:
Movements That Compress The Trochanteric Bursa
- High-impact activities (running, jumping)
- Deep squats
- Overextending the hip flexors
- Twisting or rotating movements
- Sudden side-to-side movements
- Exercises that place side-lying pressure on the affected hip joint
Training Errors
Even if you’re doing all the right exercises for hip bursitis, training errors can still negatively impact your progress. As you incorporate hip bursitis exercises into your daily routine, make sure you’re not doing the following:
- Skipping Warming Up – A proper warmup is essential for increasing blood flow to the affected area, preparing your hips and the rest of your body for a safe, effective workout.
- Doing Exercises on One Side Only – Even if only one hip joint is affected by hip bursitis, it’s still important to consistently do exercises on both sides. Strengthening the hips equally helps prevent imbalances that can lead to further problems down the road.
- Doing Too Much Too Soon – Start slowly and build up your strength and stamina over time. Doing too much too soon can put undue stress on the bursa and lead to a flare-up of symptoms.
Treatment Options Beyond Exercise
When pain persists even with a dedicated exercise routine, it may be time to consider other hip bursitis treatment options. Ready to learn more? Book an appointment with the world-class team of orthopedic specialists at Modern Orthopaedics of New Jersey today! We look forward to working with you.